Chapter 3: Development and Sharing of Branching Scenarios
3.2 Creating Branching Scenarios with Twine
🔎 USask Lens
Are you a USask educator, and looking for additional support building your branching scenario? There is help available! Reach out to gmctl@usask.ca to set up a consultation with instructional design specialists who can answer your questions and help you to get underway.
Twine (twinery.org) is a free, open-source tool that allows educators, instructional designers, and storytellers to create interactive, non-linear experiences and games. It’s particularly useful for designing branching scenarios because of its visual building mode, ease of use, and customizability.
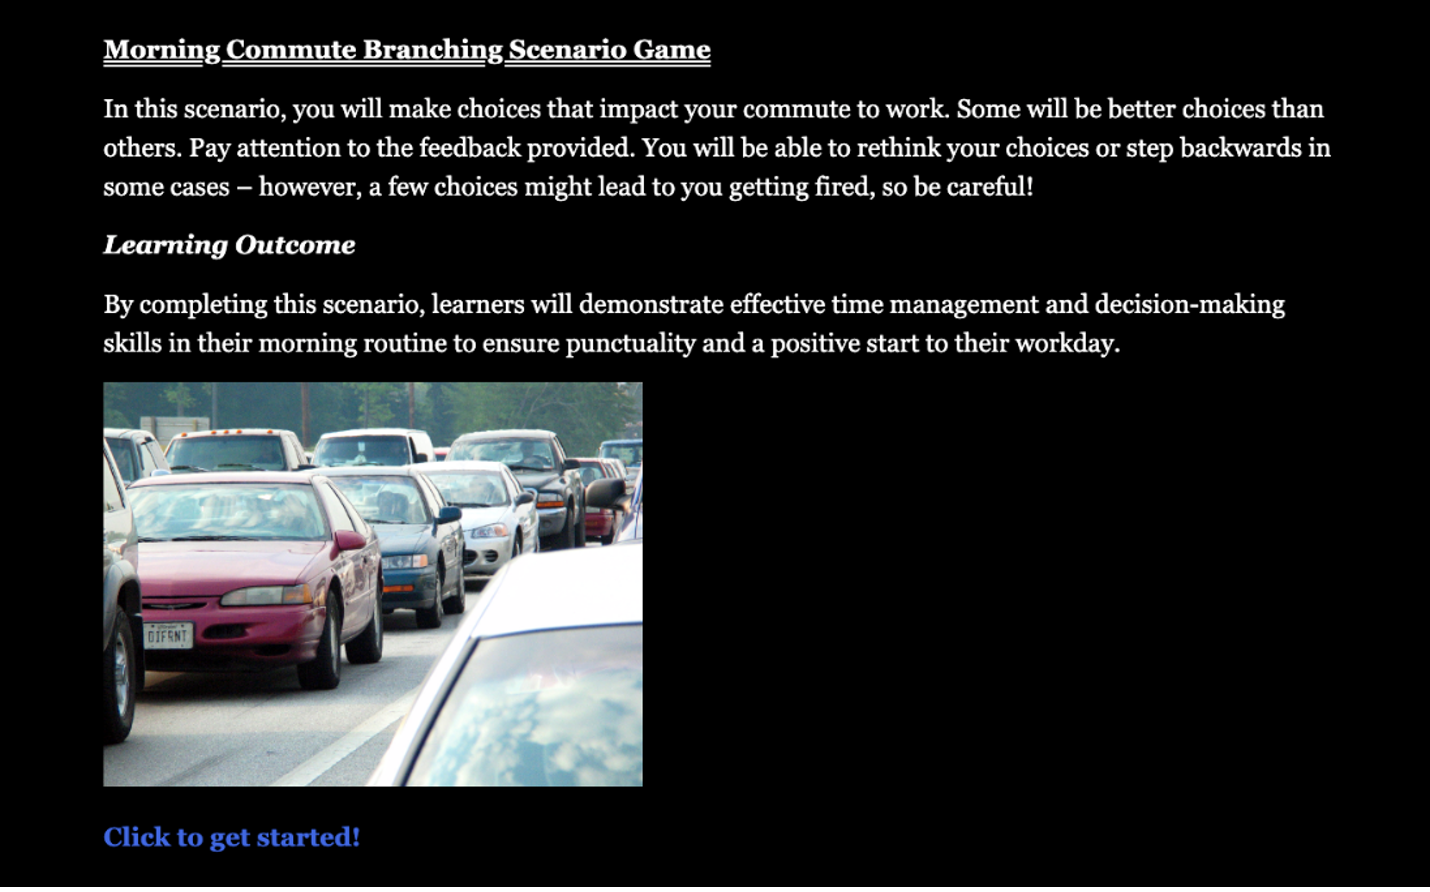
The following version of the “Morning Commute Branching Scenario” (seen in 1.1 What is a Branching Scenario?) is an example of one that was built in Twine.
Example Branching Scenario
3.2.1 Strengths of Twine Branching Scenarios
Some strengths of building in the Twine platform include:
- User-friendly: No coding experience is required to create simple branching scenarios.
- Fast building: The quick nature of building (especially if you get comfortable with a bit of Twine’s syntax) means Twine works well for rapid prototyping and early testing of scenarios. Because of this, Twine is a good option for building early iterations before you create the final version in something more media-rich (like H5P).
- Visual and flexible flowchart interface: This can help in the earlier stages of testing a decision tree structure, or when creating branched scenarios with a high degree of complexity.
- Standalone & web-based options: Users can work in the free desktop version of Twine or use the browser-based version.
- Export as HTML files: Twine exports stories as standalone HTML files, meaning they can be opened in any web browser without requiring special software. This makes Twine scenarios highly portable and shareable.
3.2.2 Limitations of Twine Branching Scenarios
Some limitations of building in the Twine platform include:
- Basic look & feel: The default text-based formatting is quite basic and “no-frills” (although you can customize further if you know how to work with CSS).
- Lack of multimedia integration: While you can incorporate images, sound, and video into the things you create with Twine, the workflow can be awkward. H5P might be a better choice if you want something multimedia-rich.
- Tricky to update: If you need to make updates, changes, or fixes to your scenario, you need to make the adjustments in Twine and then repeat the export of the HTML file, as well as the hosting/sharing of that file. This means it’s a bit cumbersome to make changes once the scenario is already created, and (unlike with H5P) you can’t really make quick or “on-the-fly” revisions.
- Not a supported tool at USask: If you go with building in Twine, you’ll need to be more self-sufficient and won’t be able to rely much on USask staff supports if you encounter technical difficulties. If you are a USask educator and feel like you might need some extra technical support, H5P is likely a better way to go.
3.2.3 Basics of Building in Twine
The Twine Reference is a guide to the Twine user interface. If you’re new to Twine, start there.
To show you how to go from a text-based outline (see the Morning Commute Branching Scenario (Word version)) to a working scenario in HTML file format, watch the video Building Branching Scenarios in Twine.
💡Tips
- The syntax to indicate a link to another passage in Twine is to wrap the passage title in double square brackets, like this: [[Passage Title]]. If a passage with that title doesn’t already exist, Twine will instantly create it.
- You can also indicate different text for the directions to learners (anchor text) and the passage title with some additional syntax, like this: [[Directions to learners -> Passage Title]]
- You might find it helpful to use Generative AI technology to help you write branching scenario text that includes the appropriate Twine syntax.
- Use the “+ Tag” function to categorize and colour-code your Twine passages, as this can make it easier to visually organize your scenario.
3.2.4 Sharing Your Twine HTML File
Once you have the HTML file exported from Twine, you have a few different options for how to share it with learners.
- Host it online: Upload your scenario to a website, a Learning Management System (LMS), or to cloud storage, and distribute the link to learners. Be sure to include any important instructions, as some platforms (like OneDrive) may only allow file downloads rather than direct browser access.
- Embed it on a Canvas page: The following video, Sharing Twine Files via Canvas, will show you how to do this.
💡Tips
- A link from Canvas files that requires a download will look like this:
https://usask.instructure.com/files/7342686/download?download_frd=1
A link from Canvas files that does not require a download will look like this (note how the end of the URL has been altered):
https://usask.instructure.com/files/7342686/download?=no - If you wish to share a Twine file that you’ve uploaded to Canvas, the recipient either has to already have access to the course, or you need to set your Canvas course visibility to Public.
- A simple iframe code that you can use to embed a Twine HTML file onto a Canvas page is:
<iframe src=”…” height=”800″ width=”100%”></iframe>
You will need to replace … with the non-download file link. For example:
<iframe src=”https://usask.instructure.com/files/7342686/download?=no” height=”800″ width=”100%”></iframe>
You may also need to adjust the height attribute as needed to better fit your scenario on the Canvas page. - Make sure you have some colleagues, or a small group of learners test your scenario thoroughly before you deploy it more widely. They can help you find gaps and errors, or spot assumptions you’ve placed within.
